
You do not need a perfect technical drawing to start a jewelry OEM conversation. You do need a clear record of what you are trying to make, which details matter to your brand, and which decisions are still open.
A good brief saves time at the sampling stage. It gives both sides one document to refer to when a clasp changes, a finish looks different in daylight, or a sample feels heavier than expected. Start with what you know. Mark the rest as questions rather than guessing.
1. Begin with the piece and the person wearing it
Name the product: hoop earrings, a pendant necklace, a signet ring, a charm bracelet, or something else. Then describe the customer and how the piece will be worn. A small everyday hoop and a bold occasion earring may look similar in a close-up photo, but they call for different choices in scale, weight, and closure.
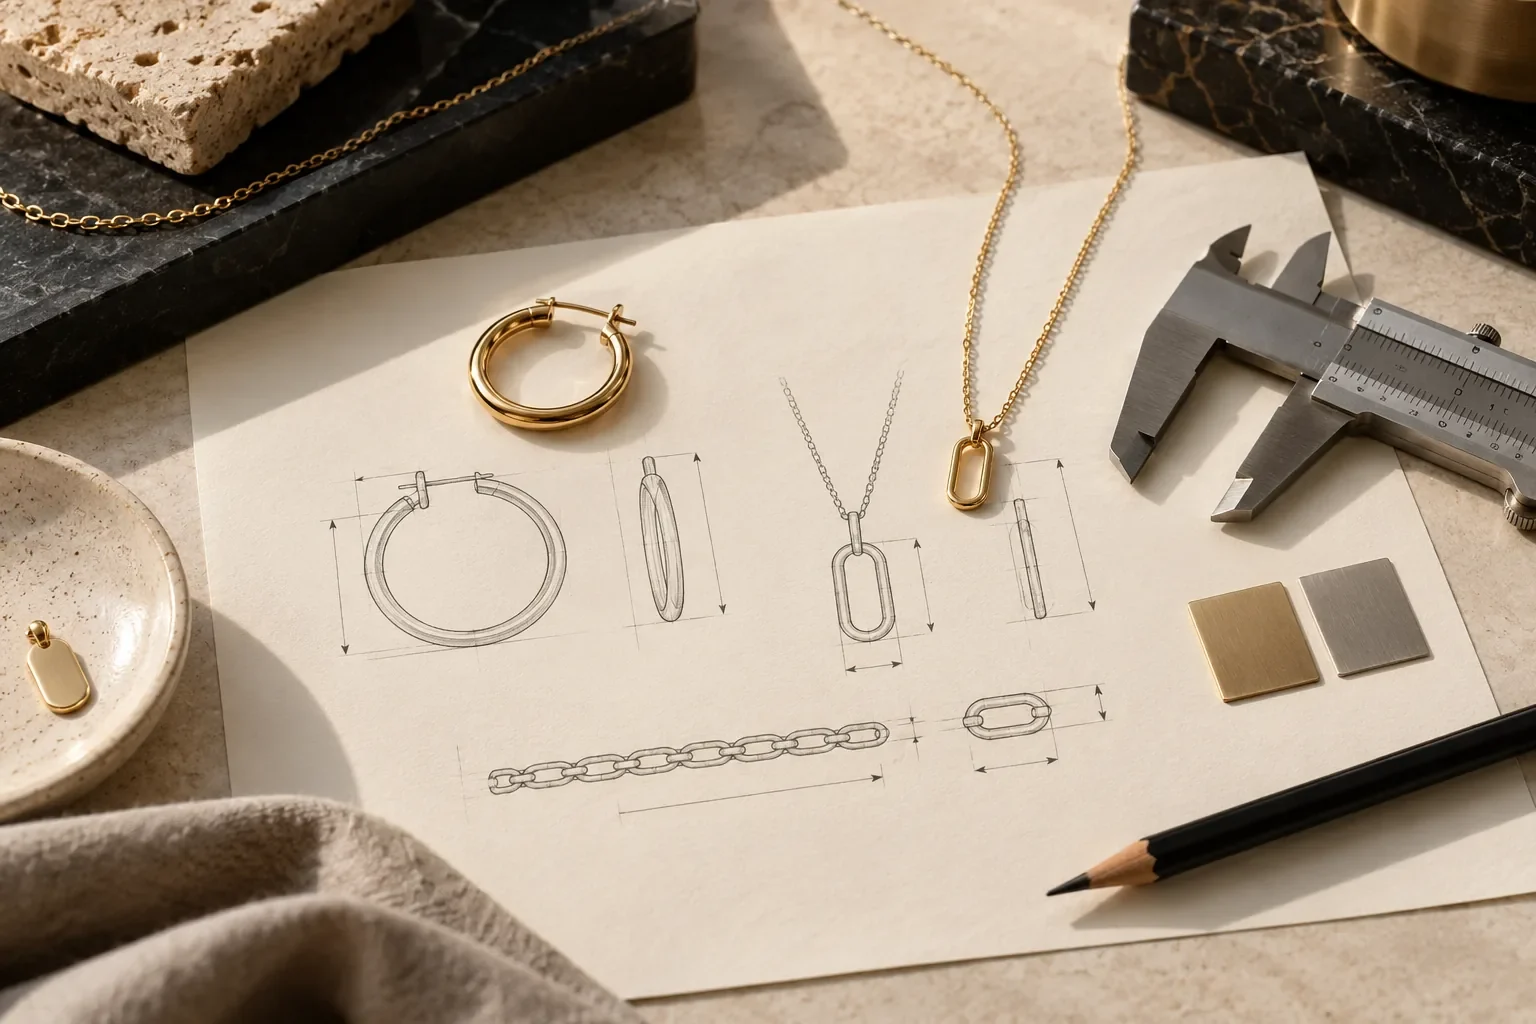
Include a front view and, if possible, a side or back view. A sketch is fine. Reference images are useful too, provided you label what you like about each one. “Use the curved profile from image A, but not its stone setting” is much more helpful than a page of unannotated pictures. If an existing piece is your reference, say which features should change so that the new design has its own direction.
2. Separate the fixed details from the open ones
List the details you have already decided, then list those you want to explore during development. For each item, use a simple label: confirmed, preferred or open.
The first list might include the overall silhouette, approximate dimensions, color direction, and where your logo should appear. The second might include the exact metal, plating, stone or inlay, chain thickness, or clasp type. This distinction makes the first discussion more productive and prevents a suggestion from being mistaken for an approved specification.
If you have a drawing, add measurements to it. For earrings, note the approximate height and width, post position, and intended feel on the ear. For necklaces, note the chain length, pendant size, and how the pendant connects to the chain. For rings, give the size range and any area that must remain smooth against the finger. These examples are prompts for discussion, not a substitute for the final technical specification.
3. Show what the finish should look like
Words such as “gold,” “shiny,” and “premium” leave room for interpretation. Add a color reference or a photo taken in neutral light. Say whether you want a polished, brushed, matte, or textured surface, and identify any areas where the finish changes. If stones, pearls, enamel, or another decorative element are part of the design, show their position and the visual effect you want.
If a particular material or finish is essential, say so. If you are open to alternatives, say what you are comparing: appearance, weight, care requirements, or target cost. Material and finish claims for a finished product should be based on the specification actually approved for that product.
4. Add the business details that shape the discussion
An OEM brief is also a buying brief. Give an estimated order quantity or a range, your target market, and your intended launch period. If you have a target price, clarify whether it refers to your purchase cost or the retail price. You can leave figures as estimates; identifying them as estimates is better than leaving them out.
Describe how the piece should arrive: individual bags, branded cards, boxes, barcode labels, or another packaging direction. Note any logo artwork, hangtags, or care-card copy you plan to supply. If you need particular product information or documentation for your market, raise that requirement early so the applicable materials and tests can be discussed for the actual product.
5. Review the sample as a wearer and as a buyer
When a sample arrives, compare it with the brief before approving it. Look beyond the front-facing photograph. Put earrings on and check their weight and closure. Wear a pendant with the necklines your customer is likely to choose. Open and close the bracelet clasp several times. Check edges, joins, stone placement, finish consistency, and how the piece sits in its packaging.
Record feedback against specific points. “Reduce the pendant diameter by 2 mm” gives a clearer next step than “make it more delicate.” Photograph the areas you discuss, and keep the revised specification together with the final approved sample. That way, the production reference is the version you actually signed off, rather than an early image in a message thread.
6. A one-page brief is enough to begin
Your first version can be short. Include:
- Product category and working name
- Sketch, sample, or annotated reference images
- Intended customer and wearing occasion
- Approximate dimensions and important construction details
- Material, color, finish, and decorative direction
- Logo placement and packaging ideas
- Estimated quantity, market, target cost, and timing
- A clear list of confirmed decisions and open questions
If half the list is still open, send the brief anyway. A useful first conversation is about resolving those choices. The goal is to arrive at a sample that can be reviewed against a shared, written direction.
Have a collection idea in progress? Tell COINA what you want to make and share the details you have so far.
Questions to start with.
Do I need a finished design file?
A sketch or reference can be enough to start a discussion. The information needed for production depends on the design and the agreed development process.
Ready to discuss your collection?
Share what you know so far. A simple idea is enough to start.
Send your brief to COINA ↗